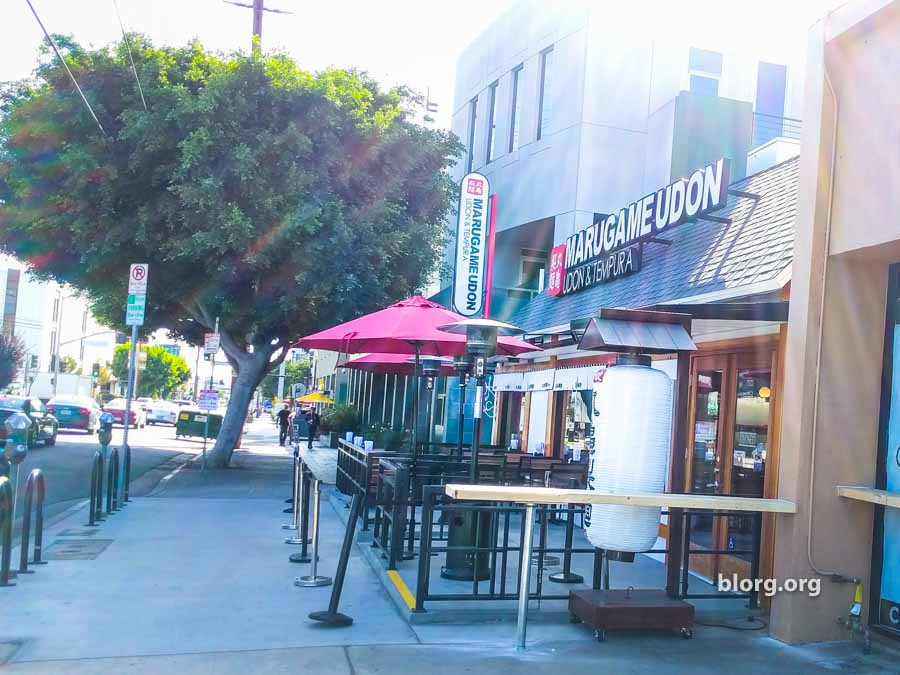
Memoirs From Marugame: Pain and Tempura – Day 2
I woke up in so much pain. My back, neck, shoulders and feet were howling from three hours of moderate labor. It’s my 2nd day of work and my schedule time is now more manageable from 11am-3pm. I leave home at 10am, listen to some good podcasts and arrive to Marugame Udon at 11:10am. 10 minutes late on my 2nd day of work. Darn. LA traffic is a pain. Day 2 and I’m already complaining about traffic.
Day 2 of Working At A Restaurant
After arriving, I check in with the store manager to see what I’ll be doing. Today will be another day of tempura. Darn. I get situated at the tempura station but ask about the arms sleeves and a mask. They get me a mask but ask about the arm sleeves…I forgot those at home. Critical mistake. The manager reluctantly provided me another pair.
Cooking Shrimp Tempura
Today is a little different though, I’m on the left tempura station instead of the right. They have two stations and each one designated for different items. The one on the left is much more difficult for me because you have to cook shrimp and chicken at this station. People will actually get sick if I mess this up.
Cooking tempura shrimp is very difficult and takes a lot of effort. First, you dip the shrimp in flour, then in the batter, then you HOLD it in the fryer for 10 seconds. You hold it to make sure the shrimp doesn’t curl up since it’s supposed to stay flat. After holding the shrimp for 10 seconds, you drop it in, pick up the batter and some large cooking chopsticks, then start drizzling batter on the shrimp with the large chopsticks while making sure it’s applied evenly. To make sure the batter is even, you have to roll the frying shrimp as you apply batter. You then let it cook for 90 seconds. This is how you give the shrimp tempura a very fluffy texture.
This is crazy difficult and a lot of work for one piece of shrimp. It was taking me 3-4 minutes to make one crappy piece of shrimp. Tempura shrimp is delicious and is the most popular item from the tempura section. Needless to say, someone else kept jumping in to do the hard work and I took over once it slowed down.
Cooking Fried Chicken (Karaage)
The guy who stepped in for me at the shrimp station then showed me how to prepare chicken. From one of the prep fridges, there is a large container of pre-cut chicken that we took out, then we breaded it in flour (flour specifically just for raw chicken), then coat in tempura and cook for 5 minutes.
As it cooks in tempura for 5 minutes, we have to move it around so the chicken doesn’t stick to each other or to the frying container. After the 5 minutes were up, I took the chicken out and let it cool down in the basket. I was about to serve it but my coworker said to check it first.
We picked up a plate and cut the piece of fried chicken open. It wasn’t done cooking yet. Back in the fryer for another 4 minutes just to be safe. I learned, always be sure chicken is cooked before serving it to people.
Cooking Tip: Double gloves! I saw this guy use two pair of gloves. When one pair got dirty, he just ripped it off and put on another layer. Great way to prevent tempura burns. Also, if you remove your gloves while your hands are sweaty, it’s very difficult to put on another pair of gloves. Double gloves prevents this issue.
Coming Up With A Story
My immediate coworkers around me at the tempura station started chatting while we had some downtime. I’ve been trying to avoid this because I don’t really want to talk about my real job. Most of my coworkers are in their early 20’s while I am 32 years old. Way too old to be working for almost minimum wage. We started talking and they assumed I was also in my early 20’s. Makes sense, I look very young. I told just a few people that I was 32 and they called me a liar. They assumed I was a student so I rolled with it.
Meal Prep: Asparagus
With 30 minutes left on my 4-hour shift, the guy who helped me at the tempura station showed me how to prep the asparagus for tempura. We took a box of asparagus from the fridge, a rubber mat, a cutting board and a kitchen knife.
The rubber mat goes under the cutting board to prevent any slipping on the stainless-steel counters in the kitchen.
First off, we took the asparagus and cut off a portion of the root. Then got the peeler and peeled the lower two-thirds of the asparagus. That’s easier said than done. The peeler would easily get jammed up with peels if you didn’t use the right technique. He showed me that you have to use an arch style peel which is mostly from the wrist. It took a few tries, but I think I got the technique down. With each piece of asparagus I was getting faster.
Day 2 Complete.